How to Teach a Child to Draw: Simple Steps for Ages 4–10
How to teach a child to draw with simple shapes and step-by-step lessons, what to say when they get stuck, and why drawing it for them backfires.
On this page
"Draw me a horse!" is one of the most common requests a parent gets, and one of the trickiest to answer well. Draw it for them and you'll be asked for another horse tomorrow. Refuse and you'll get tears. There is a middle path: teach your child how to see the shapes that things are made of, give them a few quick wins, and let their confidence grow from there. Here's how to do it, step by step.
Everything is made of shapes
The single most useful idea in children's drawing is this: almost anything can be built from a handful of simple shapes. Circles, ovals, squares, rectangles, triangles and lines.
- A cat is a circle for the head, an oval for the body, two triangles for ears.
- A house is a square with a triangle on top, a rectangle door and square windows.
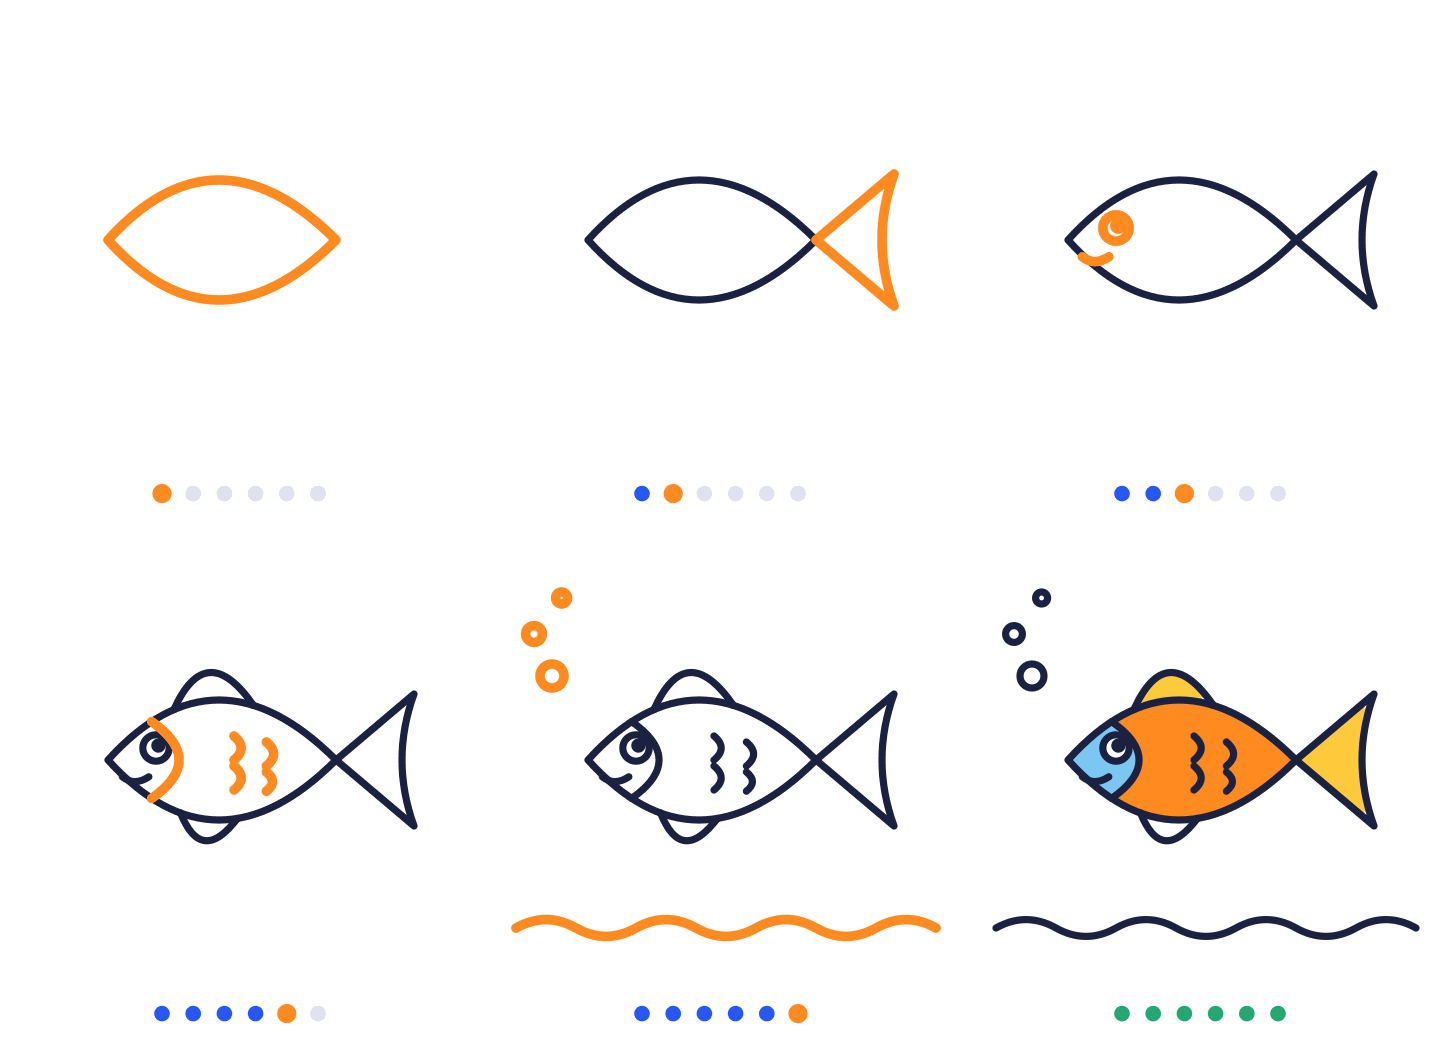
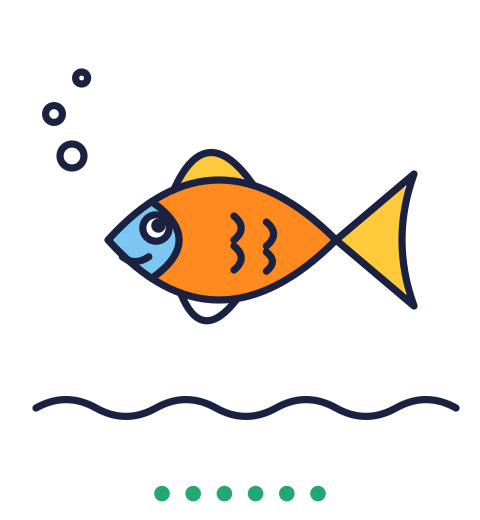
- A fish is an oval body with a triangle tail.
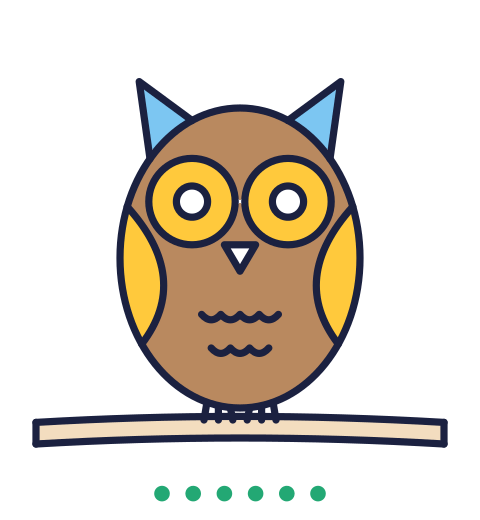
- An owl is a big egg shape, two big circles for eyes and a small triangle beak.
Once children see this, drawing stops being a mysterious talent and becomes something they can work out. Ask "What shape is its head?" and "What shape could the ears be?" whenever they want to draw something new. You're teaching them to look, which is the real skill.
What to expect at each age
Children's drawing goes through recognisable stages. Knowing them stops you expecting a five-year-old to draw like a nine-year-old, and helps you pitch your lessons.
Around 3–4: the first people. Famous "tadpole people" appear: a big circle for a head with legs and arms coming straight out of it. This is a huge step: your child is now trying to represent something. Name and admire it.
Around 4–7: symbols and baselines. Children develop their own symbols for things (a house, a tree, the sun in a corner) and use them again and again. A line of grass along the bottom and a strip of sky at the top are common. Drawings tell stories, and people may be bigger than houses because they matter more.
Around 7–9: more detail, more planning. Children start caring whether things "look right". They add details, try to show things overlapping, and become more self-critical.
Around 9 and up: realism. Many children now want drawings to look real, and this is when some give up because their drawings don't match what they see in their heads. Teaching simple techniques like proportion, shading and observation helps a lot at this point.
Ages are approximate, and every child moves at their own speed. The aim isn't to hurry through the stages but to support the one your child is in.
Your first lesson, word for word
Step-by-step drawing works best when you draw alongside your child, one step at a time, on your own paper. Don't draw on theirs. Here's how a first session might sound, drawing a cat.

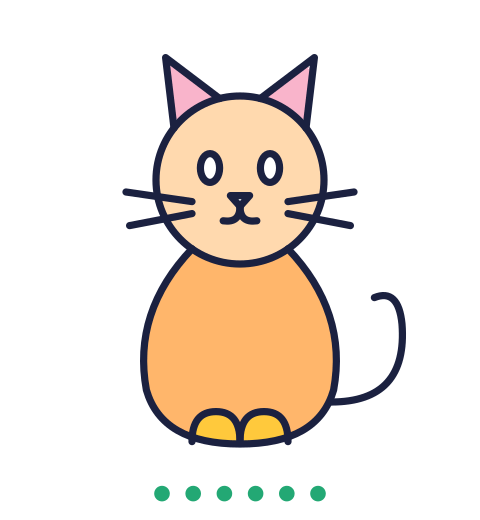
You: "We're going to draw a cat. First, a circle for its head. Not too small. Mine's about the size of a biscuit."
You: "Now two triangles on top for ears. Pointy bits up."
Child: "Mine are wonky."
You: "Cats' ears are often wonky. Now two eyes. What shape do you want them?"
You: "A big oval under the head for the body. Then a long curvy line for the tail. Does your cat have a happy tail or a cross tail?"
You: "Last one: whiskers. How many do you want?"
Notice what's happening. You give a clear instruction, but you leave small choices to your child: the eye shape, the tail, the number of whiskers. Those choices are what make the drawing theirs.
Finish by asking about the drawing rather than judging it. "What's your cat's name? Is it a friendly cat?" Then let them colour it, add a background, or draw a mouse for it to chase.
A first month of lessons
Choose subjects that build on each other. The list below starts with one or two shapes and gradually adds more steps and more choices. Do one lesson per session, twice a week, and repeat favourites.
Week 1: fish and house. The fish is two shapes. The house adds straight lines and corners. Encourage colour, patterns on the fish and a front door that's open or closed.


Week 2: cat and turtle. The cat brings in features (eyes, ears, whiskers). The turtle is a lovely lesson in patterns on its shell.


Week 3: owl and rocket. The owl is all about big, expressive eyes. The rocket mixes a tall shape with triangles and windows, and it needs a sky full of stars.

Week 4: your child's choice. Ask what they'd like to draw and break it down together. "A horse? Let's think. What shape is a horse's body? An oval, maybe a long one. What about the head?" You're now teaching the method, not the picture.
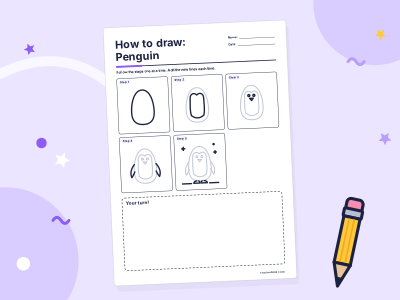
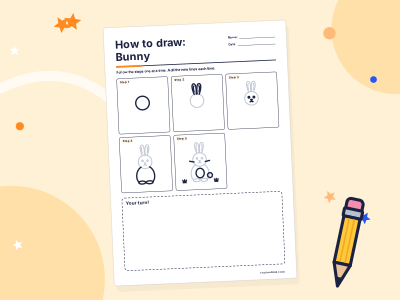
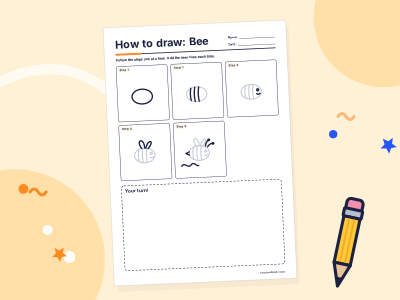
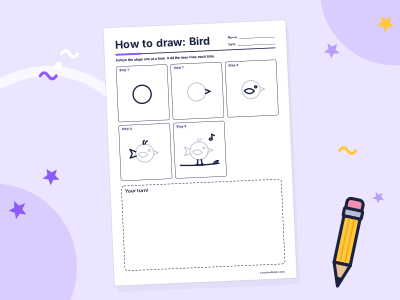
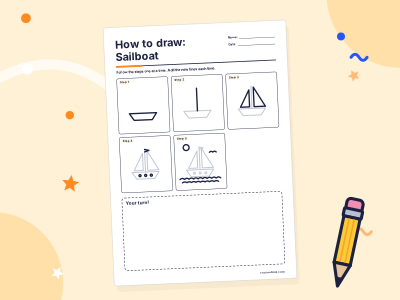
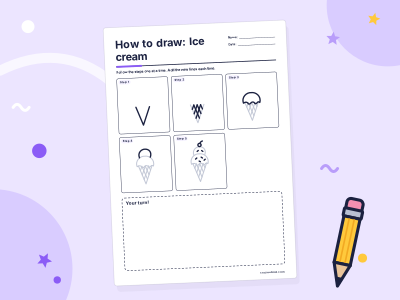
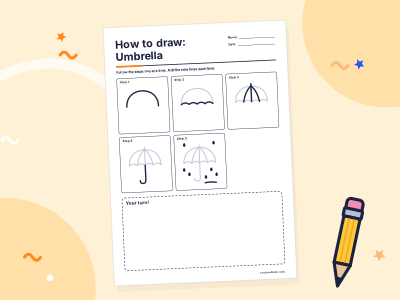
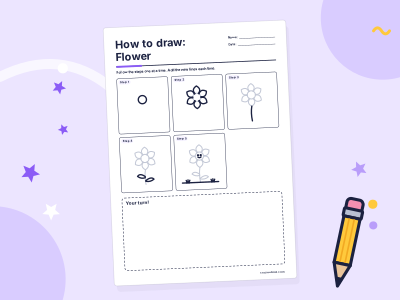
Our how-to-draw lessons include printable step-by-step sheets for dozens of animals, vehicles and objects, and the Step-by-Step Animals pack gathers the most popular ones into a printable booklet.
Printable step-by-step drawing lessons
Why drawing it for them backfires
It feels kind to draw a horse when asked. It is kind. But if it becomes the habit, it sends a clear message: "Grown-ups can draw. You can't." Children then compare their own work with yours and feel worse.
Better responses when your child asks you to draw something:
- "Let's draw it together." You draw your horse on your paper while they draw theirs, one step at a time.
- "What shape is it?" Help them break it down instead of doing it.
- "Show me where it should go." For small children, they can tell you where the eyes go while you guide.
- "Let's find a picture to look at." Look at a photo of a real horse together and point out shapes.
If you do sometimes draw a picture just for them (it's fine, nobody's banning it), keep it simple and a bit rough. A polished adult drawing is intimidating. A slightly wobbly one says "this is something anyone can do".
What to say about their drawings
The words you use about a drawing have a real effect on whether your child keeps drawing. Generic praise ("Beautiful! Amazing!") feels nice but quickly becomes meaningless, and some children start drawing only to get it.
Try describing what you see instead:
- "You've used lots of different blues in the sea."
- "Your dog's tail is curling right round."
- "I can see the cat is chasing something. What is it?"
- "You worked on that for ages."
And ask questions that invite storytelling: "What's happening here?" "Who lives in this house?" "What's the weather like?" Children often have a whole story behind a drawing that you'd never guess.
When your child is unhappy with a drawing, resist "No, it's lovely!" Acknowledge it instead: "You wanted the legs to look different. What would you change?" Then let them try again on a new piece of paper, or turn the "mistake" into something else. A blob can become a bush. A wobbly line can become a river.
Ages 7 to 10: next steps
Older children who've done plenty of shape-based drawing are ready for a few real techniques. Pick one at a time.
Look before drawing. Put an object on the table (a mug, a shoe, an apple) and ask your child to look at it for one full minute before drawing. Then draw it while looking at it more than at the paper. This is observational drawing, the backbone of all realistic art.
Light lines first. Teach them to sketch shapes lightly, then go over the lines they want to keep more firmly. This solves the "I made a mistake and it's ruined" problem.
Proportion with simple measures. An adult's head fits roughly seven times into their full height (a young child's, more like four or five). Their eyes sit about halfway down their head, not near the top as most children draw them. These two facts alone transform drawings of people.
Shading. Shade an apple: dark on the side away from the light, lighter towards it, with a small white spot left for the shine. Pressing harder or softer with one pencil is enough.
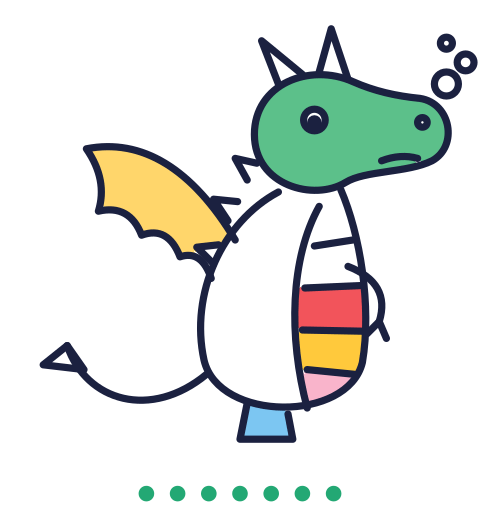
Bigger lessons. More complex step-by-step drawings with seven or eight stages, such as a dragon or a castle, give older children a satisfying challenge and new tricks for their own pictures.

Setting up a drawing habit
You don't need fancy materials. A stack of plain paper, a few soft pencils, a fine black marker and something to colour with will last for months. A cheap sketchbook that belongs to your child, kept somewhere they can reach, does more for the habit than any lesson. Date the pages, and in six months look back together at how much has changed.
Drawing and colouring work well together; our article on the benefits of colouring explains how they complement each other. And if your younger child is still building basic pencil control, start with our guide to pre-writing skills.
This weekend, put two pieces of paper and two pencils on the table, pick the fish lesson, and draw side by side. Let your child decide what pattern goes on the scales.
Find more drawing lessons
Common questions
What should a child learn to draw first?
Start with things built from one or two basic shapes, such as a fish (an oval and a triangle), a sun, a house (a square and a triangle) or a cat face (a circle and two triangles). Early success matters more than the subject.
Is it okay to use step-by-step drawing lessons, or does it kill creativity?
Step-by-step lessons teach how to break objects into shapes, which children can then use in their own drawings. Balance them with free drawing and encourage children to change the lesson, adding hats, backgrounds or extra characters.
My child says "I can't draw". What should I do?
Don't argue or reassure with "Yes you can!". Try a very short lesson with a guaranteed result, then point out one specific thing that worked, such as "Your owl's eyes are really round." Small, real successes rebuild confidence faster than praise.
How often should children practise drawing?
A few short sessions a week, of ten to fifteen minutes, is plenty. A sketchbook that stays out where your child can reach it encourages lots of small, unplanned drawing too.
Printables used in this article
Crayonbird Editorial Team
Writers, illustrators and educators
We are the small team that writes, draws and tests Crayonbird’s activities. We try every idea with our own printables, keep advice practical and honest about what doesn’t work, and point to official guidance where it matters. Nothing on this blog is sponsored.
Related articles
Art and creativity
The Real Benefits of Colouring for Children (and How to Get More from It)
What colouring genuinely does for children's hands, focus and calm, what it doesn't, and simple ways to turn a colouring page into a learning activity.
Ages 2–108 min read

Seasons and festivals
Halloween Learning Activities for Kids: Maths, Literacy and Art
Friendly, not-too-scary Halloween maths, literacy, art and science activities for ages 3–11, with a week plan and autumn swaps for families who don't celebrate.
Ages 3–118 min read
Puzzles and play
Benefits of Puzzles for Kids: What Each Type Builds and How to Choose
What mazes, word searches, sudoku, logic puzzles, spot-the-difference, I-spy and crosswords really build, which ages suit each, and how to pick the right level.
Ages 3–118 min read